TOP 10 SURFING TIPS FOR INTERMEDIATE SURFERS
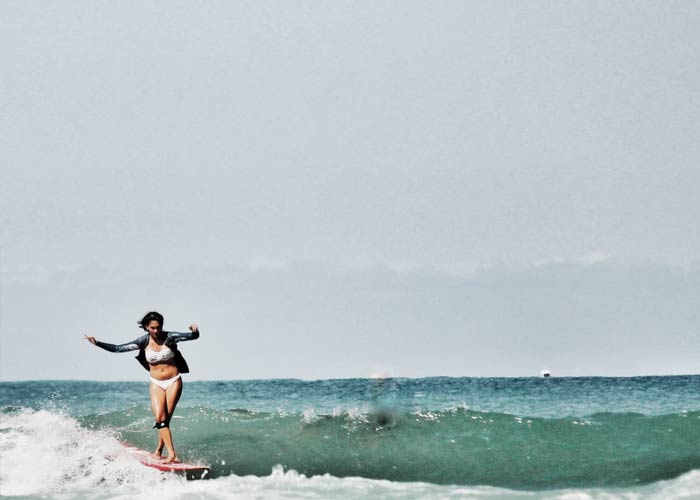
There’s a phase of surfing that is endlessly frustrating for novice surfers who are no longer beginners, but not yet at the real intermediate surfing stage (we class intermediate surfers as catching green, unbroken waves easily, trimming, turning and doing top and bottom turns).
SURFING TIPS FOR INTERMEDIATE SURFERS
It’s a time in learning the art of surfing which can be so tricky, it will often have people give up surfing altogether, myself included several times, so I get it. As a result of my experiences, I’ve compiled a list of tips you should really try and follow if you want to progress from the frustrating stage to the next level of surfing, especially if you are learning to surf at an older age.
Tip 1 : Choose a pop-up method that really works for you.
 For me, having a pop-up you can stick with is a vital choice and has to be my #1 tip. It might be rather obvious, but shorter, younger people are able to get to their feet more quickly than a taller, older person.
The shorter you are, as your centre of gravity is naturally lower, the more balance you will enjoy on the surfboard; that’s why you see little kids jumping up and riding effortlessly on their first lesson.
It stands to reason therefore that if you are tall, like me @ 5’8″, it’s trickier and gets even trickier for someone who is 6′ or more. I only started surfing aged 53 and spent 2 years trying to pop up like a young person, only to realize that there are other surfing pop up methods which suit me far better. So my first tip is to use a surfing pop-up method which suits your body shape and your age: Here are 3 different pop-up techniques you can try:
a) Using your hips as the power source (usually a shortboard pop-up):
This technique is the one I tried for a long time to master before realizing that it just was not the best for me. Basically with this pop-up technique, as you catch the wave you first put your hands below your rib cage and then push hard off the hips, swinging both feet forward as one fluid movement (depending on whether you are goofy or regular, your right or left foot will be the most forward foot once you are standing).
This movement takes a large, powerful burst of energy and if you are a taller and/or older surfer like me, the level of energy required to successfully pop-up in a balanced way, might just be too much when you have just expended a good deal of precious energy paddling to get into the wave in the first place. Being a tall surfer also means you likely have longer legs to ‘swing’ below the body, so naturally, more energy is required to achieve this type of pop-up movement. I found that I needed to place my hands a little further ‘down’ my body, below the breast bone, to achieve a sort of ‘pendulum’ balance for my long legs to swing beneath me.
Nevertheless, whilst I could practice this pop-up technique endlessly and successfully on land, once I was in the water, it often went wrong in the ‘wobbly’ water and I often ended up on my knees instead of on my feet.
b) The 1-2-3 Pop-Up
This is my descriptive name for the movement which has become my go-to pop-up surfing technique. This technique has many advantages, especially as you can start to use it slowly and as you get more confident, it naturally becomes faster and more fluid. In the end, I was popping up at least as fast with this technique as with the 1st pop-up technique described above. However, I invariably ended up more balanced and, as a second advantage, I found my feet ended up in better positions on the surfboard.
I call it the 1-2-3 pop-up technique because as I first began to use it, I counted the moves in my head. Move 1 is the hand position (described above). Move 2 is to move/slide the back foot forward into position by bending the knee on this trailing leg (I’m ‘goofy’, riding with my right foot forward, so it is my left foot, which ends up being my back foot) and Move 3 is moving my right foot forward between my hands, which remain on the surfboard until my feet are well-positioned.
Obviously, with the hands helping to keep balanced, you are less likely to ‘topple over’. From that position, if I am feeling well balanced, I can stand up. However, many good surfers will stay in a very low, keeping a low centre of gravity with your stance and there is nothing wrong with that. I will usually stay low myself, with well-bent knees.
c) The Off-the-Toes Pop-up (suits longboards only).
With this pop-up technique, instead of pushing down on the hips to ‘launch’ your feet forward, you rely on the toes to propel your movement. Once you feel the glide of the wave, your hands once again go into a position to suit your body length and at the same time, rest your feet on your toes. Once you are ready to ‘pop’ your toes will push off to propel the feet forward. This technique only works on a longboard (8ft +) unless you are a really teeny person on a shortboard!
These 3 different pop-up techniques are beautifully demonstrated by Ruby in this video:

SURFING TIPS FOR INTERMEDIATE SURFERS
Tip 2: Hone Your Paddle Technique
If you can’t paddle efficiently, then you won’t get the chance to practise your pop-up at all. Hands-down, paddling is the most important and the most difficult part of surfing. I’ve only made it my 2nd Tip because for me, deciding on your pop-up method and sticking to it carried more significance.
But paddle technique is crucial: Unless you are someone who is going to pay someone else to push you into waves (please, please don’t be one of those types), you need to be able to paddle strongly enough to reach the speed of the wave before the wave reaches you.
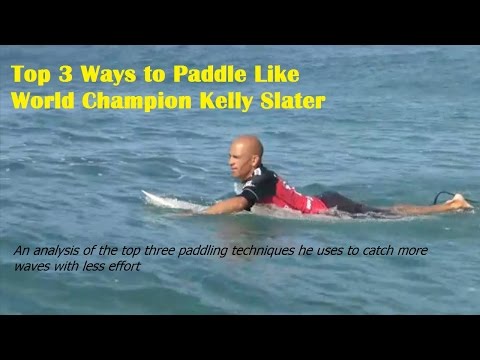
There are many tutorials about paddle techniques, but the one we have found most useful is an analysis of the paddle technique used by the great Kelly Slater; even though he invariably rides a shortboard, you can apply the basics of his technique to a longboard too:
It’s a 7-minute video and well worth a watch, but briefly, when I am paddling, I:
1. keep my back arched
2. keep my head steady, with only my shoulders rocking as I use them to reach out front
3. keep my elbow higher than my hand at the point of entry into the water
4. keep my fingers closed and my hands in a cupped shape to move as much water as possible.
Points 1, 2 and 3 are beautifully explained in the video.
Tip 3: Practise Practise Practise!
Generally: If you can’t get much water time (perhaps you don’t live close enough to the ocean, or you are just too busy with work and/or family), work on your chosen pop up method again and again at home; muscle memory is crucial.
You don’t want to finally get down to the beach, catch your wave and then when you are already being propelled forward, have to be thinking about which part moves first; your body should already be attuned to your chosen method.
If you can’t surf, go to a swimming pool to practise your paddling; if you know someone with a pool and they don’t mind, put your surfboard into the water and attach a long leash or a rope to a fixed object.
Paddle against the pull of the fixed position and do it both in short bursts of 6 or 7 powerful strokes and also longer spells of paddling more gently (30 to 50 strokes). If you can’t get to a pool or the ocean, have a look on YouTube for paddle fitness exercises; there are many to choose from to suit your body.
Cris Mills has a good video here, using easy to obtain props:

A really common mistake if you are not surfing regularly, is to underestimate how much energy you will expend paddling and catching waves; it’s exhausting!
If you come straight from an office environment and expect to be able to paddle into waves for hours, trust me, unless you are superhuman, you can’t do it. Give your body a chance by training it beforehand to make the right move when the time comes, which leads me onto my next tip to improve your surfing:
Tip 4: Warm-up
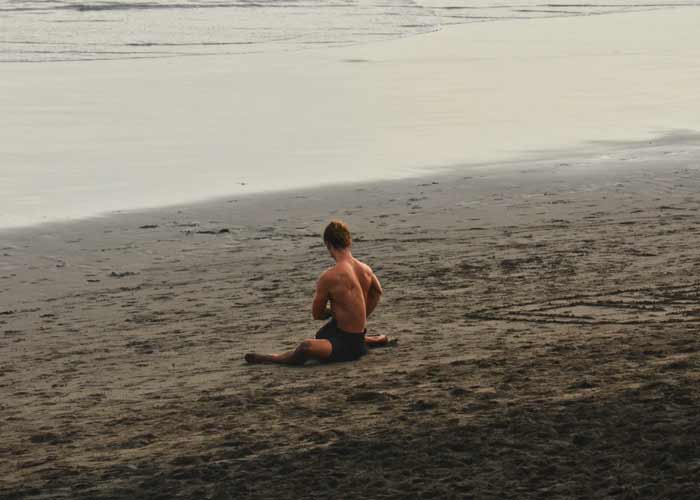
Oh, those youngsters on the beach with their terrific flexibility and muscles which do whatever they want without injury; I envy them!
My older-surfer body needs help; I must stretch and coax my body into performing before I can put it through its paces.
I use a gentle beginner Yoga type of warm-up stretching Achilles, hamstrings, hips and shoulders especially. I give my neck a good 2 or 3 minutes of moving around too.
YouTube has a fantastic array of surfing warm-up videos; choose one which suits your particular body condition and do it religiously before entering the water.
If you have less time, condense it to a shorter version at times, but do it nevertheless to help prevent injury.
Tip 5: Have the Right Surfboard
Thank goodness that longboarding is deemed cool again. Ten years ago, at our surf camp in the Dominican Republic (Swell Surf Camp), we found it very difficult to convince novice surfers to stay on larger surfboards.
Everyone wanted to get onto a 6′ surfboard; after all, it looks way cooler walking down to the surf beach with a tiny board which at least makes you look like you can surf, doesn’t it?
Well, no actually, it’s not cooler and these little surfboards are an absolute bugger to ride: They offer no flotation, give you no glide-power and are extremely hard to stand on for all but the best surfers; so stay long!
A longer surfboard with more ‘volume’ is a huge advantage for a beginner or novice surfer.
Firstly, they are easier and faster to paddle with so take fewer paddle strokes than their teeny-weeny counterparts. Ask a friend who is a good surfer if you can just lie on their shortboard for a moment in the water just to see how it feels.
Imagine trying to stand up on it! It’s damn near impossible, even if you manage to paddle into the wave on a shortboard in the first place.
Steer clear of shortboards unless you see your surfing career following the lines of Kelly Slater.
If you are a youngster reading this (I’m talking less than 20 years old), it’s a different story of course; you will almost definitely be able to master a shortboard than us oldie surfers. Now 56, I know I am never going to want to take a big drop and get barreled. I much prefer riding mellow longboard waves which suit me and my skills far better.
I ride a 9′ longboard now in all surf conditions; on the inside at Bingin when it’s big and on the main peak when it’s small enough for me.
Alternatively, I ride off to find another spot which the forecast says is offering smaller waves.
Tip 6: Recognize the right surf conditions and know your surf spot
It should be obvious really, but we novice/experienced-beginner surfers usually end up with the left-overs when it comes to waves.
The main reason is our lack of confidence in unbroken waves (especially if you surf in a place where swell sizes are constantly changing, which is the case in most spots).
We don’t feel comfortable on a peak when it is occupied by better surfers than us in case we get in their way, or more sensibly when self-preservation steps in and we want to avoid a painful wipe-out.
My best tip on this subject is to observe; don’t go straight into the water and paddle into trouble.
Look at what the waves are doing:
- Where is the main peak breaking?
- How big is it on the set waves and how many waves appear to be in each set? (this varies with each swell).
- How steep is the ‘drop’? (we novice surfers are not ready for very fast, steep takeoffs).
- Is there a ‘shoulder’ of the wave (a less steep, more gentle part) and where does that shoulder break compared to the main peak.
- Is the shoulder breaking right or left, or both? Also, take a look at the surfers who are already on the peak(s).
- Who is a good surfer and knows what they are doing and who looks as if they might be out of their depth and definitely worth avoiding in the water?
- If the main peak(s) look too big for you, is there a reforming wave on the inside where you could catch the white water to begin and then enjoy a smaller wave reforming, or even a little green unbroken wave which appears?
If you are not already familiar with the spot you are visiting, then you should definitely think about going out with a surf guide to help you; there could be dangerous rip currents or hazards in the water, such as submerged rocks, you need to avoid.
Trying to surf the ‘wrong’ kind of wave is absolutely the most common mistake a novice surfer can make; it just doesn’t work.
We invariably need chest to shoulder high waves to practice our unbroken wave takeoffs. If we can’t have them, we need to look for sensible alternatives or a change of mind-set.
For example, if the unbroken waves on the peak are out of our comfort zone on any particular day, we need to amend our expectations and keep to the white water and reform waves; I constantly had to remind myself that it is all ‘time in the water’ and paddling, popping up and balancing on the surfboard is never time wasted.
Know your tides and swell sizes: A mid-to higher tide if you are surfing in a spot where there are larger tidal differences, may change the shape of a wave entirely.
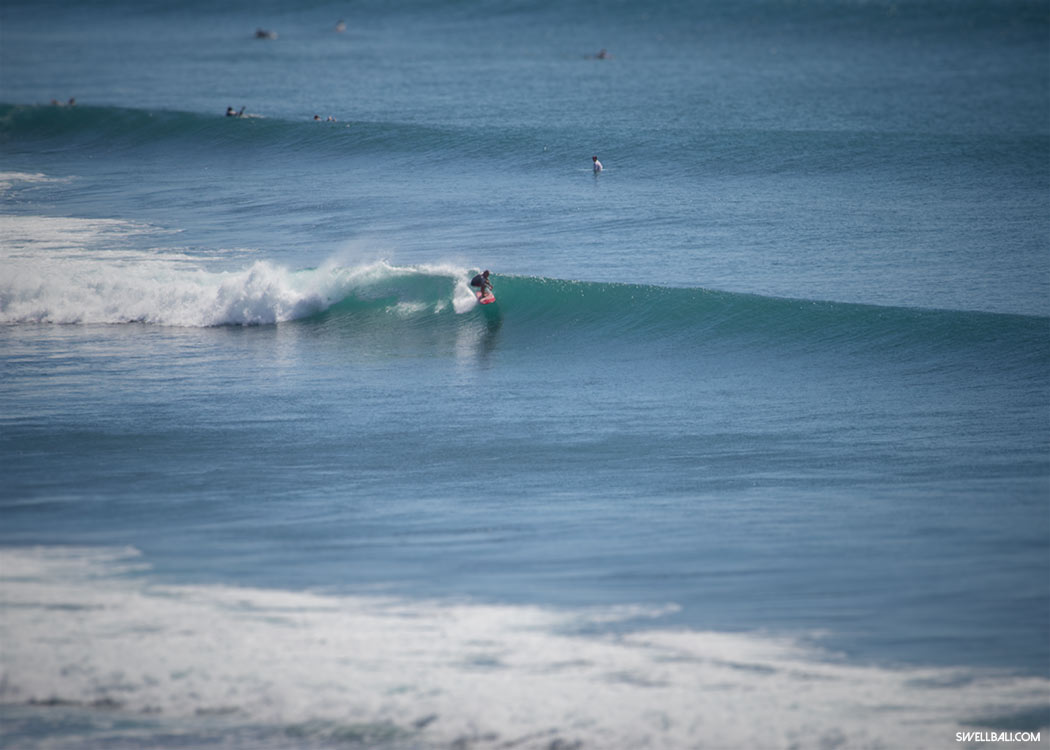
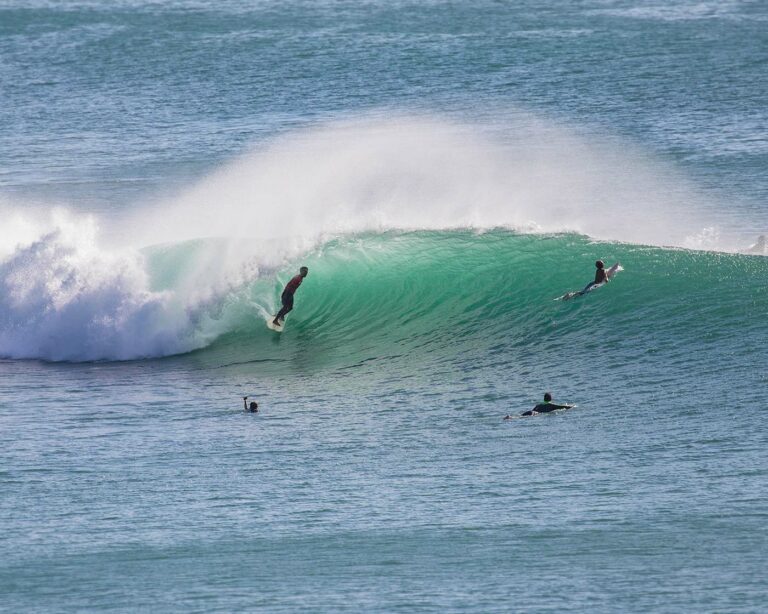
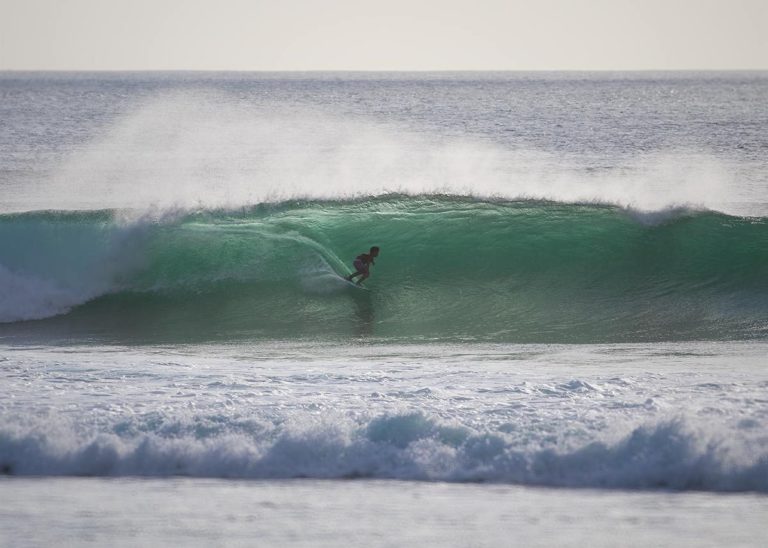
For example, where I live in Bingin, Bali, on a low tide, the main break is a fast, dangerous barreling monster of a wave, but on high tide and a small to medium size swell, it becomes a wave that I can catch and enjoy.
This is another very good reason to use a surf guide if you are not already familiar with a spot you want to surf. A good surf guide will keep you out of trouble and increase your wave count.
Tip 7: Learn Patience
For most of our shorter surf experience, we have probably been surfing ‘white water’ waves inside the main peaks. When there, we don’t get much rest do we?
For the better surfers who can sit on the ‘outside’ and choose whether or not to take a wave (surfing etiquette observed of course), they get plenty of rest.
Us beginner surfers, stuck on the inside, are usually constantly pounded by the breaking waves unless we are lucky enough to enjoy a ‘channel’ to rest in between or during sets. We are just not used to choosing waves and/or deciding whether or not to ‘go’; the white water usually makes the decision for us.

Now we are popping up with confidence and want to get into unbroken waves, we must start making choices; to take the wave which is approaching or to let it go.
Your chosen surf spot probably has tidal variations which might make a mid or higher tide kinder to novice surfers.
As in Tip 4, if you have learned your spot you know what the waves do depending on the tide. If you have followed the Observe rule, then you will have seen what’s breaking and where.
How many times have you been paddling back out only to see the perfect little wave breaking in front of you, just out of reach? It happens all the time to me, so learn to let waves go.
Now, even when I am on the inside of the main break (which I have judged to be out of my league during my earlier Observe moment) I can sit on my board and let the larger white water waves pass beneath me, while I wait for the previously elusive baby wave to break again.
Granted, it doesn’t always work, but if I have observed them previously I know that sooner or later, one will come along.
Another way to do this if you have a channel to rest in (we have one here in Bingin, Bali), is to sit in the channel, inside of the main break and wait out the set before paddling yourself into position on the inside of the main peak.
Usually, but not always, a larger set of waves will have some smaller waves in between which break further in than the main sets.
Our surf spot, on a mid-to high tide, does just that. If you have observed your spot properly, you will know if you have the same luxury.
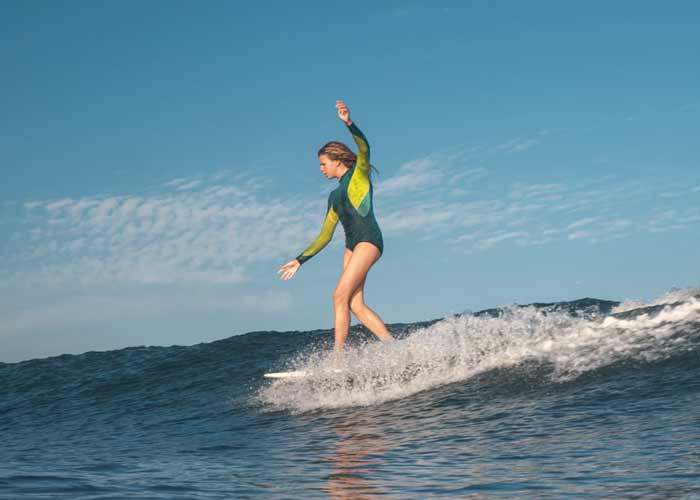
Tip 8: Where you look is where you go
If you are moving towards the intermediate level of surfing, you need to change a couple of things that you did as a beginner surfer. As a beginner, we are invariably looking forwards (or worse, looking down) as we catch our first waves.
Now though, we need to start thinking about where we are headed, where we want to go.
As we are paddling into a green, unbroken wave, we need to start thinking about looking towards the direction of where the wave is headed: As you begin to paddle, start to angle your surfboard ever so slightly:
If you are paddling into a left-handed wave, angle your surfboard slightly to the left as you paddle. Don’t overdo it, as you may end up being engulfed by the water and flipped; too much angle and you will stall the surfboard: It’s a subtle movement.
Likewise, your eyes should be facing towards the shoulder to your left, as this is a left-handed wave.
Don’t concentrate at all on what your feet are doing; we’ve already trained our body to pop up, now it’s about looking towards the direction you are headed.
It may take a few attempts to get this new habit going, especially as all waves are different, but persevere and it will come.
Tip 9: Starting Your Top and Bottom Turns
Riding in straight down the line of a wave is fine, but you will soon start to make more of the face of the wave by doing bottom turns and top turns.
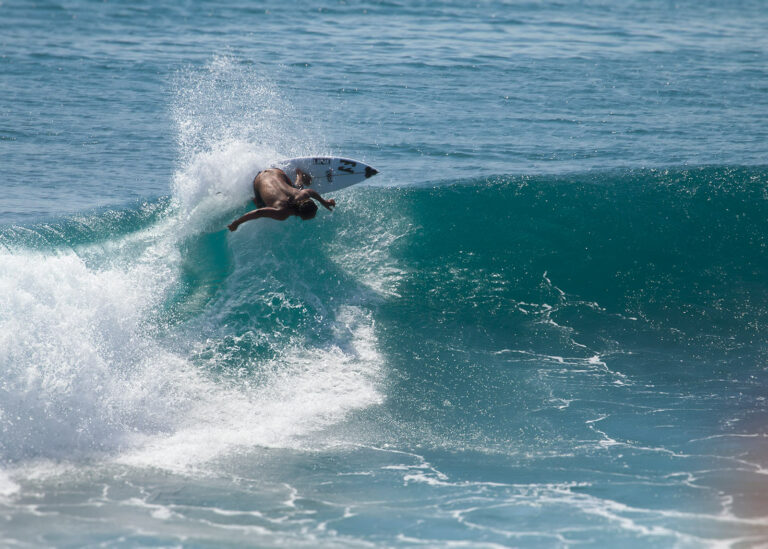
You will see good surfers making some big manoeuvres on the face of a wave, coming out wide (almost off the face) before turning sharply back into and up the face of the wave. We are just going to concentrate on the first stage of these techniques, and that is zigzagging, albeit with a wavy line, along the wave’s face.
As with Tip Eight, where we look is where we will end up going. The same can be said for the arms; you can start to use them to generate your turns. We also need to do a couple of things with our feet: Let’s start with a left-handed wave and a rider with a goofy stance (right foot forward), this rider will be facing the wave as they ride. So, first, they took off on the face and they looked left and along the wave face as they popped up.
Now they want to move down the wave a little before riding upwards on the face.
For some people, this comes naturally, but let’s look at what they have to do to achieve it.

If the rider did nothing, they would continue to ride left at less than the speed of the wave, until the wave just breaks and they end up in the white water. B
ut we want to start to generate a little more speed to stay ‘in front’ of the white water and on the green face. In order to do so, you will need to lead with your right arm (goofy stance) pointing in the direction you want to travel at the same time as applying more pressure to the back foot, especially to your toes, and bend your trailing knee.
Drop your trailing arm (for a goofy stance, this will be the left arm).
If you do all this together, you will find the board turning, but don’t make the mistake of turning too far as you will just come off the wave.

Instead, once you have turned into the wave a little, reverse the action to make a small turn back: Lean forward slightly, leading your right arm as you look left and towards the bottom of the wave.
Bend your knees and put pressure on your front foot toes to generate some more speed to travel down the face again.
It’s all about shifting the balance from back foot to the front foot, using your arms and your eyes which should both point in the direction you want to travel.
As you become more accomplished at moving the surfboard up and down the waves, these will turn into proper bottom and top turns, leading to cutbacks and other tricks, but let’s leave that for another time!
Youtube has a ton of tutorials on how to make turns on the waves.
Tip 10: Don’t Beat Yourself Up!
My long-suffering husband has lost count of the times I have announced over the years that surfing is not for me after all and I’m giving up.
Such protestations always come after a challenging session and there’s a common theme running when I have a bad surf: Poor wave conditions.
Let’s take Ruby’s lovely video (link in Tip One) about pop-up techniques:
What do you notice? Yes, you’ve probably spotted it straight away; the waves she’s riding to demonstrate are damn near perfect.
Personally, I can count on one hand the surf sessions I have had where the waves are as perfect as that; not too big, not too small, not too steep, perfectly glassy and lots of them, all a uniform size. Lucky Ruby!
Our surf sessions as novices most often feel like two steps forward, two steps back, sometimes two steps forward, three steps back and sometimes, less often, two steps forward 🙂
Let’s be kind to ourselves: It’s not always you, it’s the wave. Sometimes at certain times of the year, it can be the tide AND the wind AND the waves.
Sometimes it’s the crowds too on a busy weekend if I choose the wrong surf spot at midday.
Surfing is difficult and it’s frustrating at times. It’s also the most amazing feeling ever when it all comes right. Just remember, you have either had a good surf or a good workout.
Come see us at Swell Bali to surf in warm water and some of the best intermediate surf conditions in the world: I can’t always promise you Ruby’s waves, but they are darn good!
ABOUT SWELL BALI
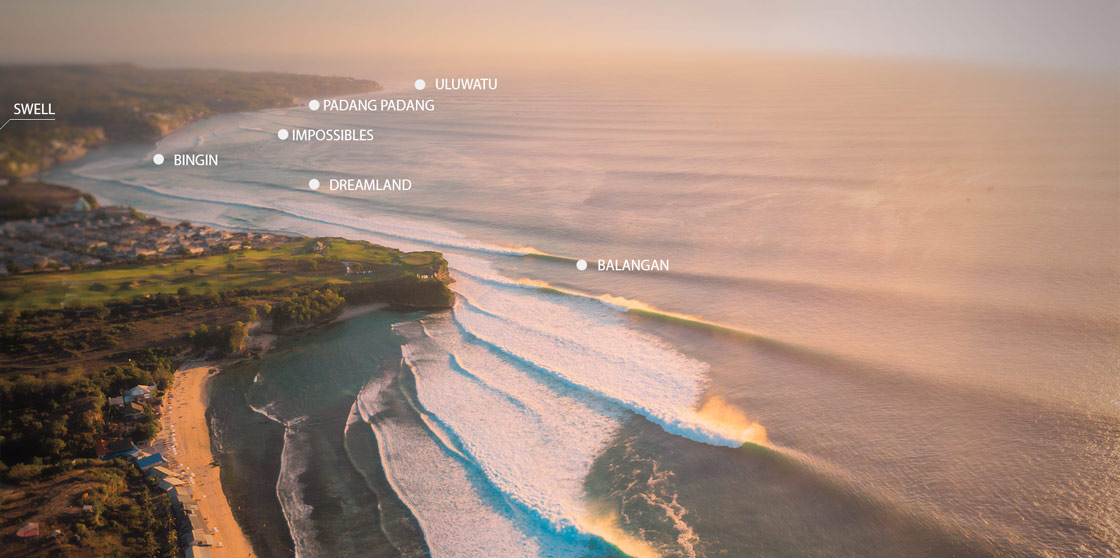
Swell Bali is a purpose-built surf hotel and surf camp right in the centre of Bingin and a short walk to Bingin and Dreamland as well as several other different surf spots for surfers of all levels. The original Swell Surf Camp is located on the North Coast of the beautiful Dominican Republic, in the Caribbean

About me: My name is Clare and I am the co-owner of Swell, I am 56 years old and love surfing the Bingin waves with my group of surf buddies. On most morning you will see me out in the water with my longboard.
If you enjoyed this article about Top 10 surfing tips for intermediate surfers, you will also like the best surf spots for intermediate surfers in Bali